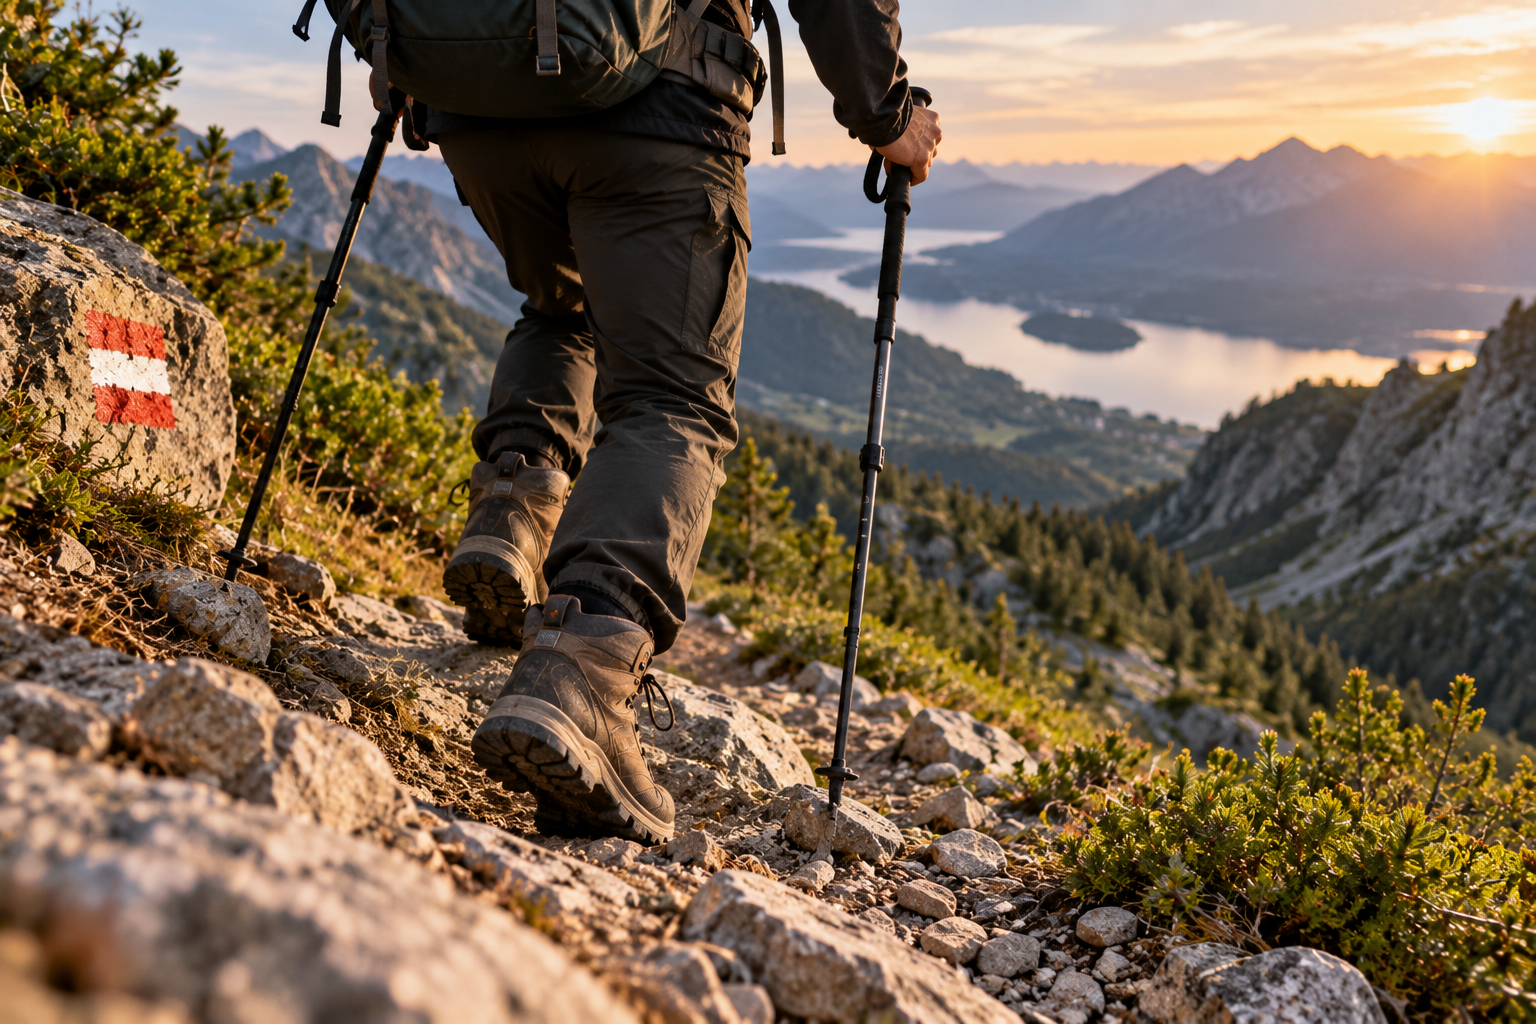
The climb took hours.
Your lungs were working hard, your legs were burning, and every switchback seemed to reveal another section of trail above you. Reaching the top felt like finishing the difficult part.
Then you started descending.
Within thirty minutes, your breathing was easier—but your knees were not. Every step downhill seemed to send another jolt through your legs. By the time you reached the trailhead, the descent had somehow become more uncomfortable than the climb.
This is a common hiking experience. Learning how to reduce knee pain when hiking downhill starts with understanding that descending creates a different type of demand. Instead of repeatedly pushing your body upward, your legs must control your body as gravity pulls it downward.
Downhill Hiking Is Not Simply Easier Uphill Hiking
Ascending and descending may happen on the same trail, but they ask different things from your body.
Going uphill requires substantial effort to raise your body against gravity. Heart rate and breathing can increase quickly, which makes climbing feel obviously difficult.
Descending often feels easier cardiovascularly.
But your legs are now repeatedly slowing your body as it moves downward. Instead of producing force mainly to propel you forward and upward, your muscles also have to control the rate at which you descend.
That repeated braking is one reason downhill hiking can feel surprisingly demanding.
Your Legs Are Acting Like Brakes
Imagine walking down a steep trail without controlling your speed.
Gravity would keep accelerating you.
To prevent that, each step needs to absorb and control some of the movement.
The muscles around the hips, thighs, knees, ankles, and feet work together during this process. Your quadriceps in particular can experience substantial eccentric loading, meaning they produce force while lengthening as they help control the descent.
That is different from simply letting gravity do the work.
The mountain may be pulling you downward for free, but your body still has to manage the landing.
Long Steps Can Make Every Landing Harder
When hikers become tired, they sometimes start taking large downhill steps.
It feels efficient because each step covers more distance.
But reaching far downhill can make the body drop farther before the foot receives your weight. The result may be a harsher landing and more braking required from the legs.
Shorter, controlled steps often make descending feel smoother.
You are reducing the size of each individual drop rather than repeatedly stepping down as though the trail were a giant staircase.
Increase Cadence Instead of Increasing Stride
Shorter steps naturally mean you may need more of them.
That is not necessarily inefficient.
A slightly quicker rhythm with controlled foot placement can distribute the descent across many smaller movements instead of fewer aggressive ones.
The goal is not to race downhill with tiny steps.
Find a natural cadence that allows you to remain balanced and prevents every foot strike from becoming a heavy braking event.
Smooth is usually more useful than fast.
Avoid Leaning Too Far Back
A steep descent can create an instinctive response: lean backward.
It feels safer because the slope is falling away in front of you.
But excessive backward leaning can disrupt balance and encourage harder braking through the legs. It may also make the feet more likely to slide forward on loose terrain.
Aim to keep your body balanced over your feet while adapting naturally to the slope.
That does not mean deliberately leaning downhill on dangerous terrain. The objective is a stable, controlled posture rather than fighting the entire slope by sitting backward with every step.
Your Knees Should Not Do All the Work
When descending, think beyond the knees.
The hips can contribute to controlling movement, while the ankles adapt to uneven terrain and the torso helps maintain balance.
A stiff, upright descent in which every drop is absorbed primarily through the knees can become uncomfortable quickly.
Allow the lower body to move naturally.
Depending on terrain, a slight bend through the knees and hips can help absorb movement instead of landing with the legs rigid.
Downhill technique is a whole-body skill.
Trekking Poles Can Add More Points of Contact
Trekking poles are often associated with stability, but they can also be useful during descents.
Properly placed poles give the upper body additional contact points with the ground. This can improve balance and help hikers control movement on steep or uneven sections.
For downhill use, adjustable poles may need a different length than they do on flat terrain or climbs.
However, poles are not automatic protection.
Poor placement can create another tripping hazard, especially when moving quickly. Practice using them on easier terrain before relying on them during a technical descent.
Do Not Plant the Pole Too Far Ahead
Reaching dramatically forward with trekking poles can place the body in an awkward position.
The pole should support the movement you are actually making.
On ordinary downhill terrain, place it where it contributes to balance and control without forcing the shoulders and torso into an exaggerated reach.
On very steep or technical sections, technique may change depending on the obstacle.
Like foot placement, pole placement works best when it remains deliberate rather than automatic.
Backpack Weight Changes the Descent
Every item in your backpack comes downhill with you.
A heavier pack increases the total mass your body must control during each step.
This does not mean hikers should remove essential safety equipment to make the pack lighter.
It means unnecessary weight has a physical cost.
Before a hike, review what you are carrying. Remove genuine duplicates and items that serve no practical purpose, while keeping the equipment appropriate for the route, weather, duration, and possible emergencies.
Reducing avoidable weight can make long descents noticeably more manageable.
Pack Stability Matters Too
Weight is not the only issue.
A poorly packed backpack can shift as you move.
On uneven downhill terrain, that movement can interfere with balance and force you to make constant corrections.
Secure loose items and adjust the pack so it sits appropriately for its design.
Heavy objects moving around inside the bag can make a technical descent feel less predictable.
A stable load lets your body respond to the trail rather than repeatedly responding to the backpack.
Fatigue Changes Your Technique
The descent usually happens after the climb.
That sounds obvious, but it has an important consequence: you may begin the downhill section already tired.
As fatigue increases, steps can become less controlled. Foot placement becomes careless. The torso may lean backward. You may start dropping heavily from rocks instead of stepping down carefully.
This is one reason the final section of a hike can produce problems even when the terrain is not technically difficult.
Do not judge your remaining capacity only by distance.
Five downhill kilometers at the end of a long day may feel very different from five fresh kilometers in the morning.
Take Breaks Before Technique Falls Apart
Many hikers rest during climbs because they are out of breath.
They rarely stop on descents because breathing feels easier.
But muscular fatigue can accumulate without dramatic cardiovascular warning.
If your steps are becoming sloppy, take a short break.
Drink.
Eat if appropriate.
Let the legs recover briefly.
Waiting until your knees are already uncomfortable and your balance has deteriorated is less useful than responding to early fatigue.
Do Not Race the Last Few Kilometers
The car is getting closer.
Everyone wants food.
The trail is mostly downhill.
This is exactly when hikers start moving faster than their tired legs can comfortably control.
A rushed descent combines fatigue with greater impact and less careful foot placement.
Maintain the same decision quality you had earlier in the hike.
The trailhead is not going anywhere.
Finishing twenty minutes earlier is rarely worth turning the final descent into an uncontrolled march.
Choose the Smoothest Safe Line
Trails often provide several possible foot placements within the same corridor.
One line may involve large rock steps.
Another may offer smaller natural steps.
Choosing the smoother option can reduce repeated large drops.
However, do not leave established trails simply to find easier terrain. Cutting switchbacks or walking outside designated routes can damage vegetation, contribute to erosion, and create safety problems.
Work with the legal, established trail while selecting sensible foot placements within it.
Switchbacks Exist for a Reason
A direct line downhill is shorter.
It is also steeper.
Switchbacks reduce the effective grade by spreading elevation change across a longer distance.
Cutting directly between them may seem like a shortcut, but it can create a much steeper descent while also damaging the trail environment.
Stay on established switchbacks.
The extra distance can actually make descending easier because each step requires less vertical drop.
Wet Trails Change Everything
Rain can turn an ordinary descent into a much more technical problem.
Rock becomes slippery.
Roots become slick.
Mud reduces traction.
Loose soil can move underfoot.
When grip decreases, hikers often tense their entire body and take awkward braking steps because they are afraid of slipping.
Slow down and shorten the stride.
Test uncertain surfaces before transferring full weight when practical.
Wet conditions are not the time to preserve your normal downhill pace.
Loose Gravel Requires Controlled Movement
Small stones over hard ground can behave like ball bearings beneath a shoe.
A foot planted aggressively may slide.
This is another situation where large, committed steps can become problematic.
Keep your center of mass controlled and avoid assuming every surface is stable.
Watch where previous hikers have disturbed loose material and look for firmer legal footing.
Trekking poles can also provide additional stability where appropriate.
Footwear Cannot Fix Poor Technique
Hiking footwear matters.
Traction, fit, stability, and suitability for the terrain can influence how secure you feel during a descent.
But expensive boots cannot eliminate the forces created by overstriding, excessive speed, fatigue, or poor balance.
Treat footwear as one part of the system.
Good traction helps you use better technique confidently.
It does not make technique unnecessary.
Check Your Laces Before the Descent
Feet can slide forward inside footwear when traveling downhill.
If the fit allows too much movement, toes may repeatedly contact the front of the shoe or boot.
Before a long descent, check the lacing and fit.
The goal is secure heel and foot control without creating excessive pressure or cutting off circulation.
Different footwear supports different lacing approaches, so experiment before a major hike rather than discovering a new setup halfway down a mountain.
Strength Training Can Help Prepare for Descents
The best place to prepare for downhill hiking is not necessarily on the mountain.
General lower-body strength can improve your capacity to manage repeated loading.
Exercises involving controlled knee and hip movement may help build the strength needed for hiking, provided they are appropriate for your current ability.
Step-down variations, split squats, squats, and other lower-body exercises are commonly used in general training, but progression matters.
If you already have persistent knee pain or an injury, generic exercise advice is not a substitute for individualized guidance from an appropriate healthcare professional.
Train the Descent, Not Only the Climb
Hikers often prepare by climbing stairs, walking uphill, or using an incline treadmill.
Those are useful for developing climbing capacity.
But if the route contains a long descent, training should also prepare the body to control downward movement.
Gradually practicing appropriate descents can expose your legs to that demand before the actual trip.
Progress slowly.
Doing an enormous downhill session after months without similar activity can simply create excessive soreness rather than useful preparation.
Mobility Can Affect How You Move
Limited ankle or hip movement can influence how a person negotiates uneven terrain.
If the body cannot comfortably access a position, it may compensate somewhere else.
That does not mean every hiker needs extreme flexibility.
Hiking requires usable movement, not gymnastics.
If certain downhill positions consistently feel restricted, targeted mobility work may be useful alongside strength and technique.
Route Planning Should Include Elevation Loss
People often look at hiking distance and total elevation gain.
The descent deserves attention too.
A route that climbs 1,200 meters usually needs to lose that elevation somewhere unless transportation or route design changes the endpoint.
Study the profile.
Where is the steepest descent?
Does it happen late in the day?
Is the surface rocky, muddy, or exposed?
Knowing this beforehand helps with pacing.
The summit should not be the point where all energy has already been spent.
Save Something for the Way Down
Reaching the summit is psychologically powerful.
But on an out-and-back hike, the summit is only halfway in one very important sense:
you are not finished.
Keep enough food, water, daylight, attention, and physical capacity for the return.
A descent performed while dehydrated, hungry, exhausted, and racing sunset is a very different experience from the same trail under controlled conditions.
Good pacing includes the entire route.
Some Discomfort Should Not Be “Pushed Through”
General muscular fatigue during a long hike is one thing.
Sharp, severe, worsening, unstable, or otherwise concerning knee pain is different.
If pain changes the way you walk significantly or follows a fall or twisting injury, continuing to force the same movement may not be sensible.
Persistent or recurring knee pain also deserves proper assessment rather than endlessly changing hiking technique based on internet advice.
The goal of better downhill technique is to manage normal hiking demands more effectively—not to disguise an injury.
Practice Technique on Easy Descents
Do not wait for a steep mountain to experiment with downhill form.
Use easier terrain.
Practice shorter steps.
Notice where your body sits relative to your feet.
Try trekking poles.
Pay attention to how backpack weight changes your balance.
Find a controlled cadence.
Technique is easier to learn when the consequences of a mistake are small.
Once the movement feels natural, it is easier to use on longer routes.
Efficiency Downhill Should Feel Controlled, Not Slow
Good descending does not necessarily mean moving painfully slowly.
Experienced hikers can descend efficiently because their movement is controlled.
Their steps fit the terrain.
They do not waste energy fighting gravity with every landing.
They maintain balance and adjust pace before the trail forces them to.
Speed becomes a result of control rather than the objective.
That distinction is important.
Trying to move fast creates rushed technique. Moving well can eventually make you faster without the same sense of impact.
Conclusion
Learning how to reduce knee pain when hiking downhill is largely about managing the forces created by gravity instead of fighting them with every step.
Use shorter, controlled strides rather than repeatedly reaching far downhill. Maintain a balanced body position, allow the hips and legs to share the work, and consider trekking poles where they improve stability. Keep backpack weight sensible, adjust pace for loose or wet terrain, and remember that fatigue can change technique long before breathing becomes difficult.
Preparation matters too. Strength training, gradual exposure to descending, appropriate footwear, route planning, and saving energy for the return can make long descents much more manageable.
The summit may feel like the finish line.
On many hikes, it is not.
Your lungs may finally get an easier job on the way down, but your legs are beginning a different one—and treating the descent as a real part of the hike is one of the simplest ways to arrive back at the trailhead feeling considerably better.